How to use the Winter Testkit
Welcome to winter water monitoring!
Join us in uncovering how road salts impact freshwater ecosystems during the colder months. With your Winter Testkit, you’ll collect vital data to track chloride levels and assess their effects on our waterways.
Here’s how to get started
Before you use your equipment, make sure to familiarize yourself with the Water Rangers protocol. This will tell you how to pick the best spots to monitor, and will also tell you how often you should go testing.
Below, you’ll find an in-depth video explaining how to use the different tools that come with your Winter testkit, how to manage and share your data, and the suggested schedule for both blitz events and regular monitoring.
1. Get to know your equipment
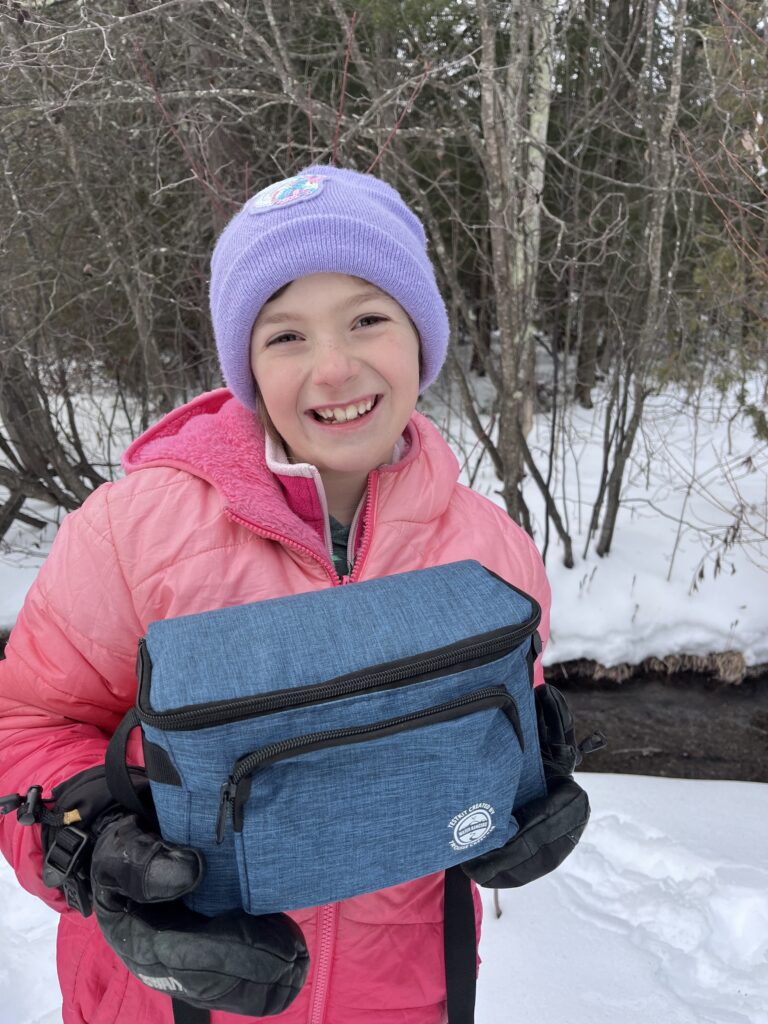
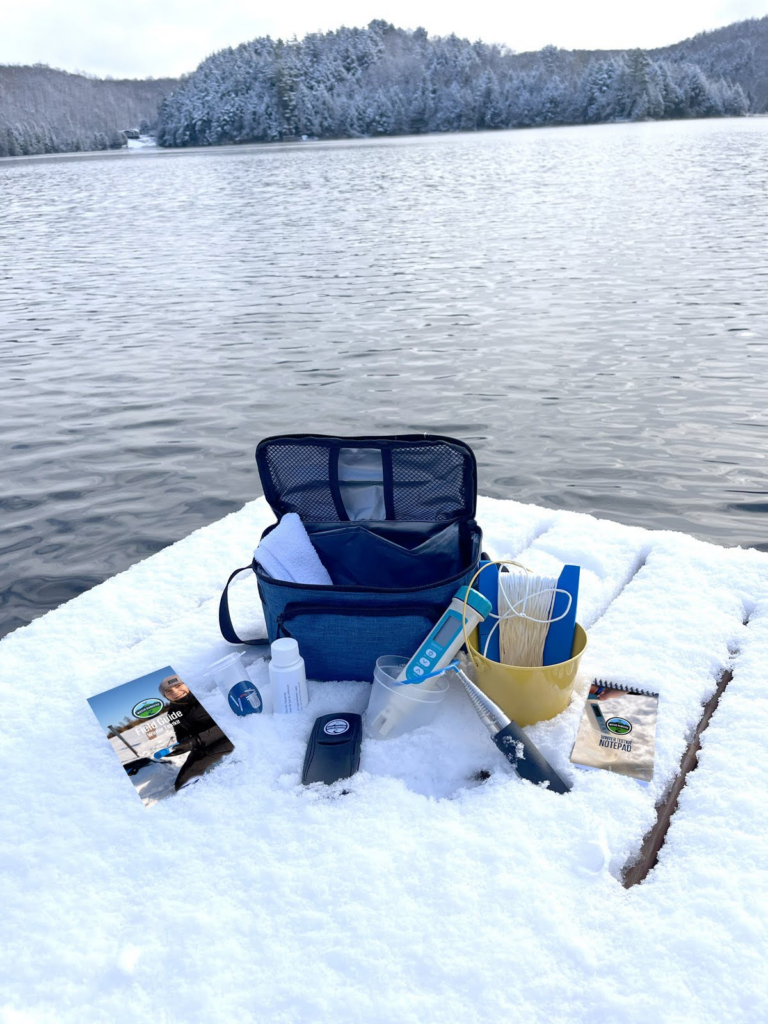
All of our Winter Testkits contain:
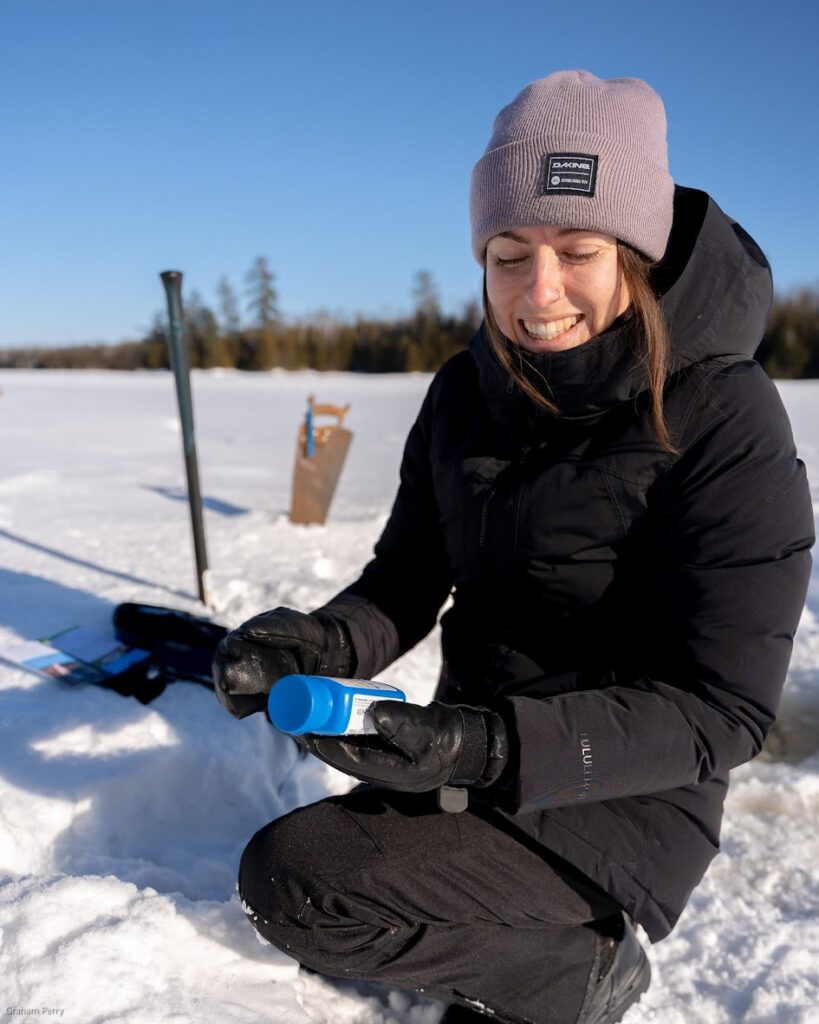
- 10x chloride teststrips: These test strips help you to test the chloride content of water. They’re accurate and easy to use!
- Chloride conversion chart (to interpret the test strip reading): Each batch has its own chloride comparison chart. A chart will be provided with this bottle of 10 test strips.
- Conductivity meter (tests for conductivity, TDS, and water temperature): This measures the water’s ability to conduct electricity! You can read more about what this means and why it’s important here.
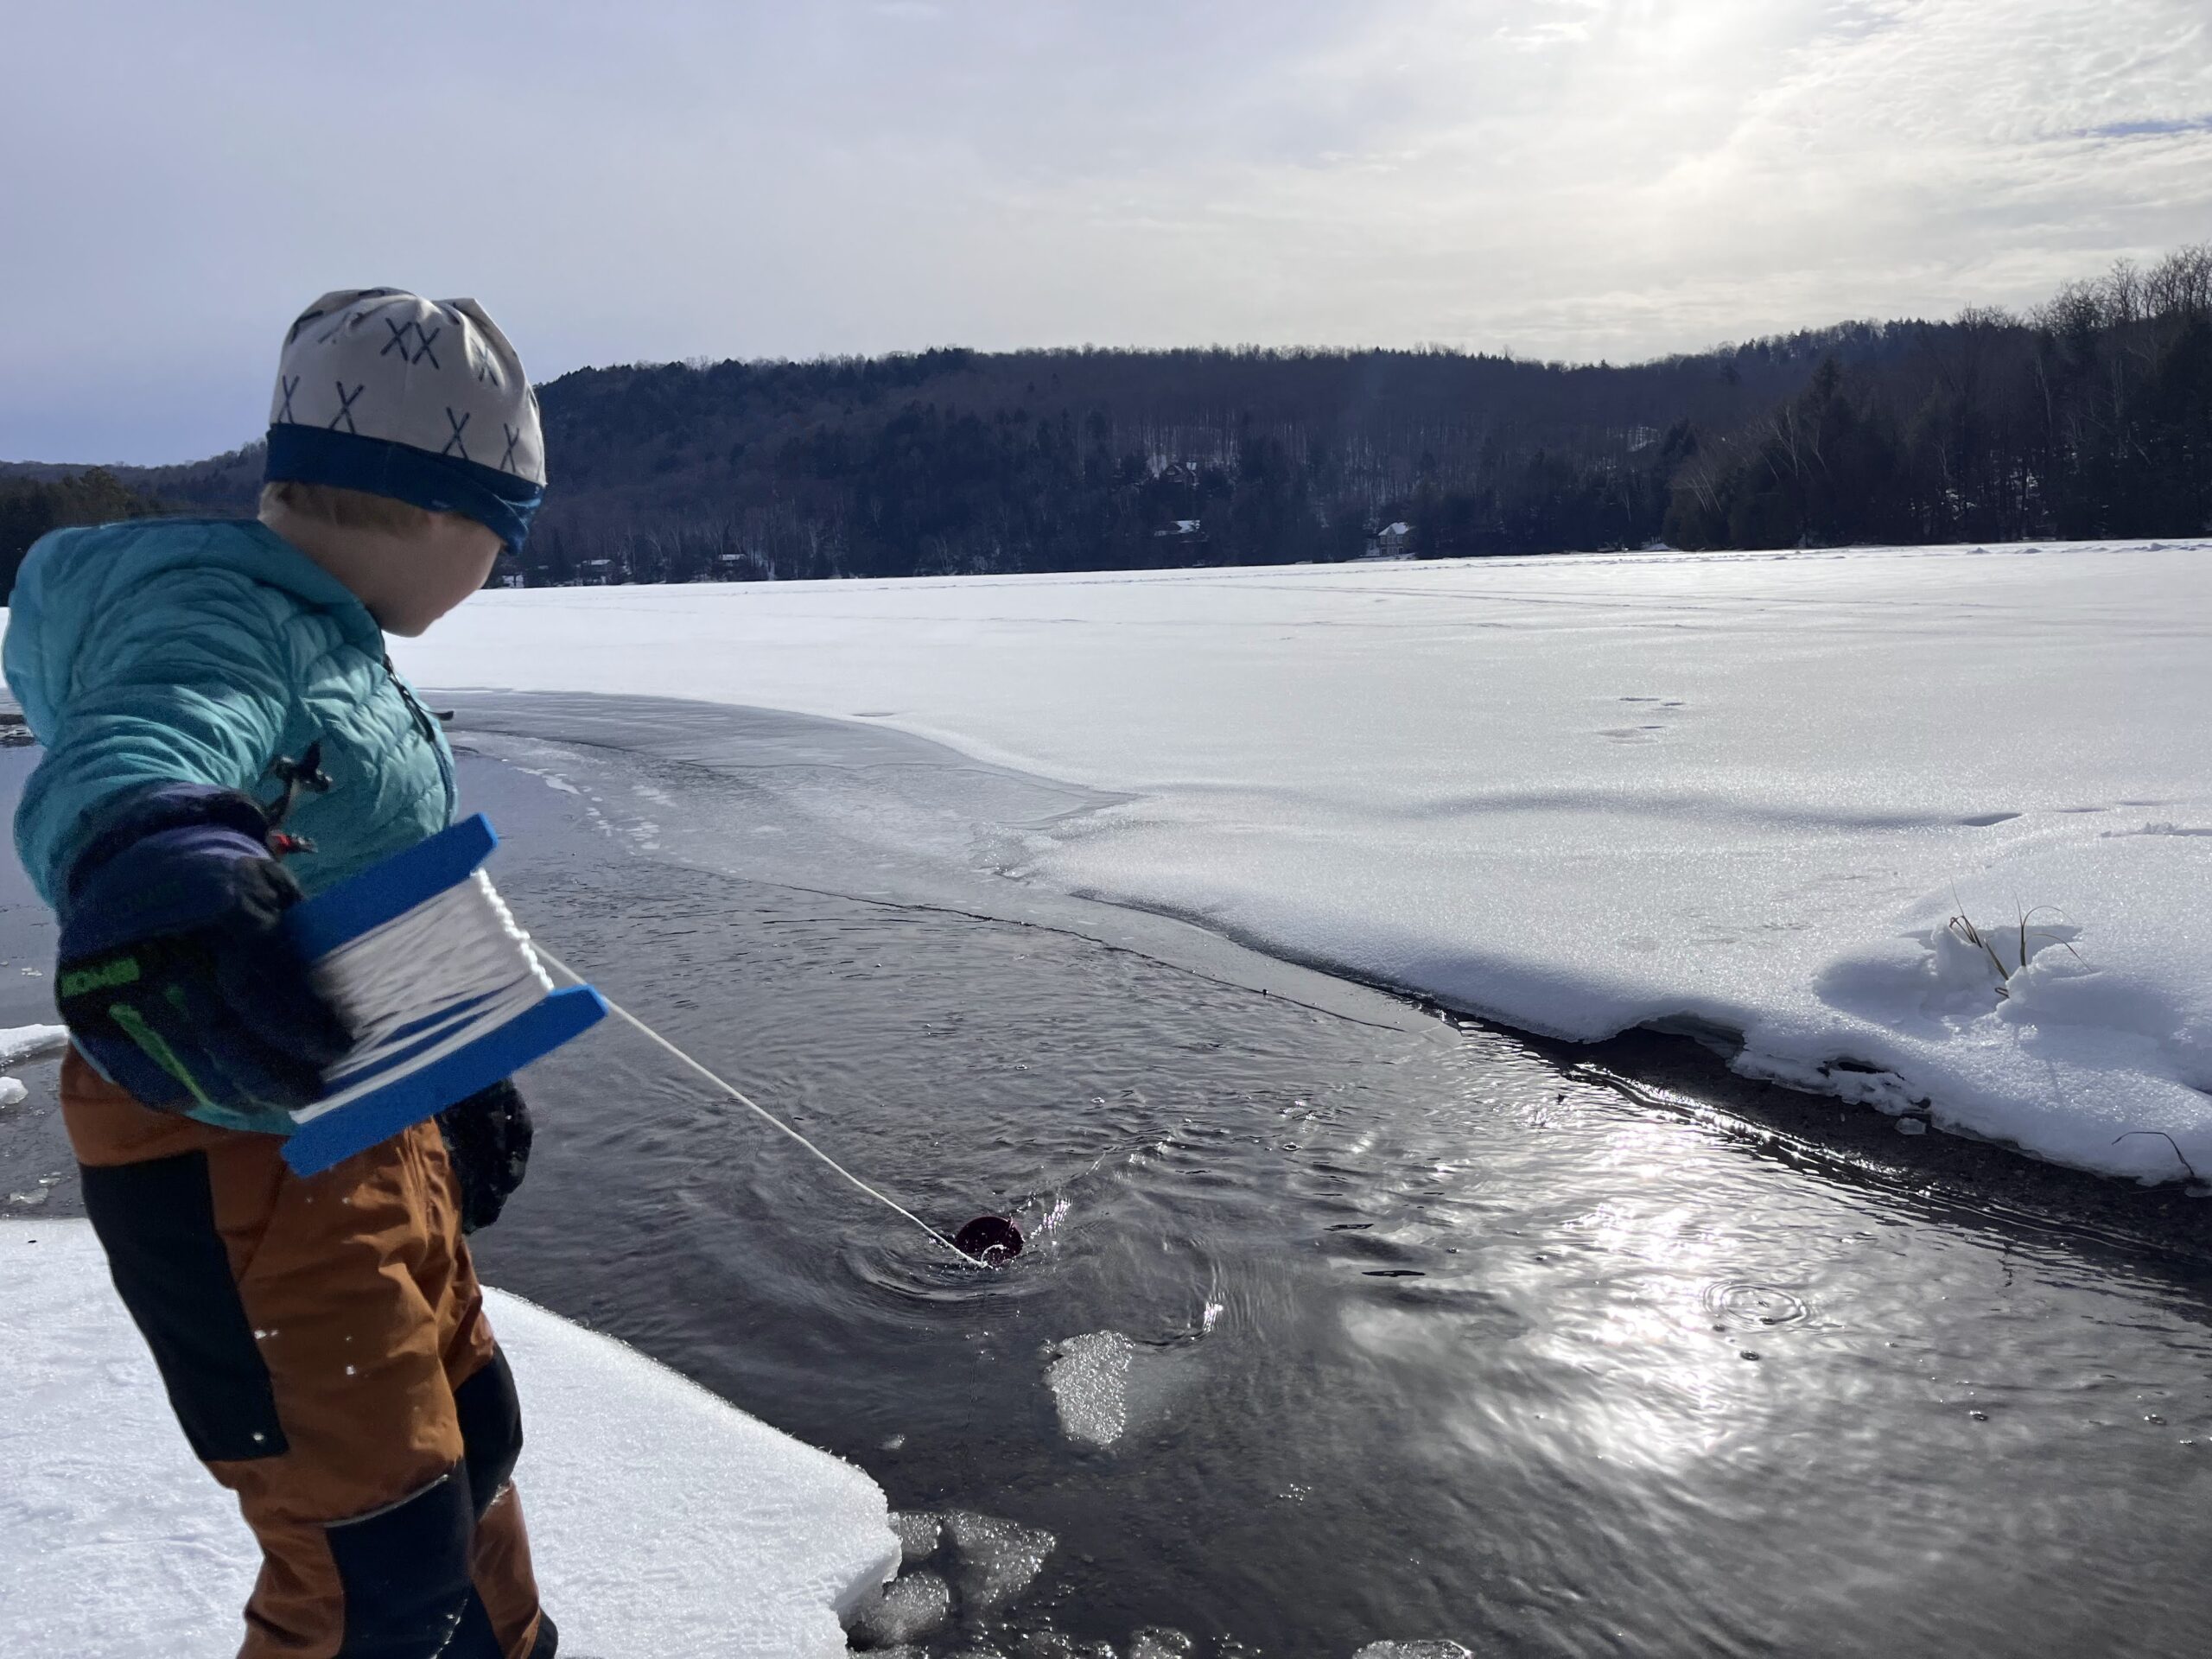
- Throw bucket and rope: grab water samples from hard to reach places.
- Reacher stick: Attach your sample cup to your reacher stick to grab water samples from hard to reach places.
- Water Rangers towel: Remember to wipe down your equipment after each use.
- Field notebook and pen: you can record all of your observations in the notepad provided if you don’t have your phone handy.
- Sample container
- Field guide: You’ll learn everything you need to know about testing with Water Rangers in our field guide
Should you desire extra chloride test strips more can be added to your order here
2. Learn how to use your kit
How to use the Freshwater Explorer kit
All of these instructions can be found within the field guide that comes with your kit, too! We definitely recommend reading it from cover to cover.
Step-by-Step Guide to Using Your Winter Testkit
- Prepare for Sampling
- Choose a safe sampling site: Select locations near salted areas (e.g., roads or parking lots) but ensure your safety. Consider spots upstream and downstream for comparison.
- Dress appropriately: Wear warm, waterproof layers, traction aids, and high-visibility gear.
- Collect a Water Sample
- Rinse equipment: Rinse your sampling cup or throw bucket three times with water from the site.
- Sample below the surface: Use your equipment to collect water at least 15 cm below the surface.
- Test for Conductivity
- Turn on your conductivity meter.
- Place it in the sample until the readings stabilize.
- Record conductivity (µS/cm) and water temperature.
- Measure Chloride Levels
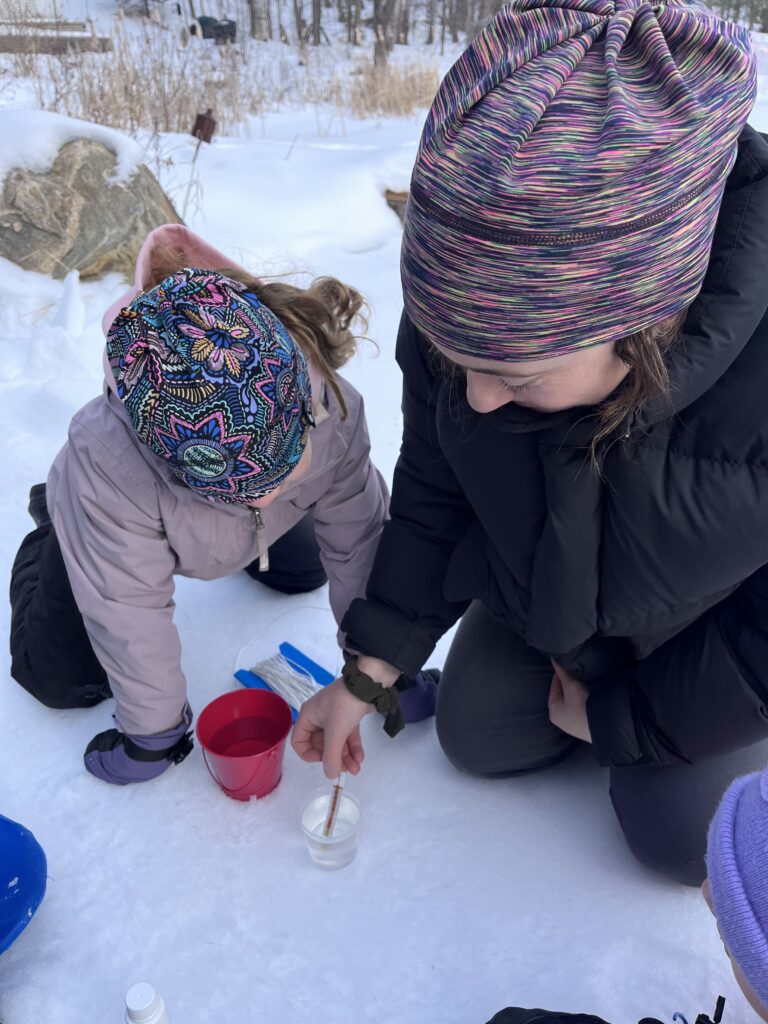
- Shake out a chloride test strip and dip it into your water sample up to the designated line (do not submerge fully).
- Wait for 3–5 minutes as the strip reacts. The top strip will turn black when complete.
- Compare the white indicator line with the chart on your test strip bottle to find the chloride concentration (ppm/mg/L).
- Record your results.
- Record the Weather: Log temperature, precipitation, and other conditions that may influence your results.
- Add Context: Note ice cover, nearby pollution sources, water colour, and odour. Photos are a great addition to your records!
- Manager your data: Upload your data to your group’s locations
- Clean Up
- Wipe down and dry all your equipment.
- Store your testkit securely for future use.
Key Considerations
- Safety First: Winter testing needs hyper safety vigilence. Avoid testing alone or in hazardous conditions. If in doubt, skip the test.
Why monitor road salts?
Road salts like sodium chloride (NaCl) are vital for winter safety but can harm aquatic ecosystems. Elevated chloride levels can:
- Disrupt freshwater ecosystems and harm aquatic life.
- Corrode infrastructure, raising drinking water treatment costs.
- Linger in groundwater, affecting water quality for years.
By tracking chloride levels, you help identify pollution hotspots and inform conservation efforts. Read more about why winter road salt monitoring is so important here.
Monitoring schedules
Creating a schedule you can follow is just as important as choosing a site!
We can’t say it enough: consistency is key when it comes to water quality monitoring! It’s important to test your locations at least monthly. If you or your group can commit to testing weekly or bi-weekly, even better! Also consider testing after rains and snowmelts. and participating in blitz events.
- Year round testing : With our new winter monitoring testkit we’re now testing year round! While testing weekend is the last weekend of every month, some people test weekly or after weather events. We recommend testing as often as possible, but aim for at least once a month.
- Official testing days: Our official testing days happen on the last Sunday of every month (back-up days are Saturday and Monday). Put your reminder magnet on your fridge to remember! We’ll also email you.
Blitzes
blitz event is a coordinated effort where volunteers collect water quality data at multiple locations over a short period, often a single day. A targeted monitoring blitz focuses on collecting data for a specific parameter or event, such as measuring chloride levels during stormwater runoff from winter melts.
Blitz event schedule
- Pre-winter baseline (November): Before the first major snowfall to establish baseline chloride levels
- Post-salting events (December–March): immediately after significant salting events following snowfalls or freezing rain to assess runoff impacts.
- Thaw and rainfall events (late winter to early spring): measure spikes in chloride concentrations following thaw or heavy rains.
- Spring melt (April): during peak snowmelt to capture data on seasonal salt runoff and potential longer-term accumulation.
- Summer baseline check (June): Monitor mid-year chloride levels to observe any lingering impacts.
Your Impact Matters
All data collected contributes to a larger network of community-based water monitoring. Log your results using the Water Rangers iOS app or on our open data platform to make your observations accessible for research and decision-making.
Need More Help?
Check out our training videos or contact us for guidance. Your dedication makes a difference in protecting our waterways!
